

Studio Scale X-Wings
Any excuse to build an X-Wing is a good excuse! Three of the four kits are the standard "Salzo" resin kits, one however seems to be an odd hybred. Some of the parts seem to be from the Salzo kit, others had clearly been mastered by someone else. The wings arrived as a laser scored sheet of plexiglass that needed assembly.
This project was started in December of 2013
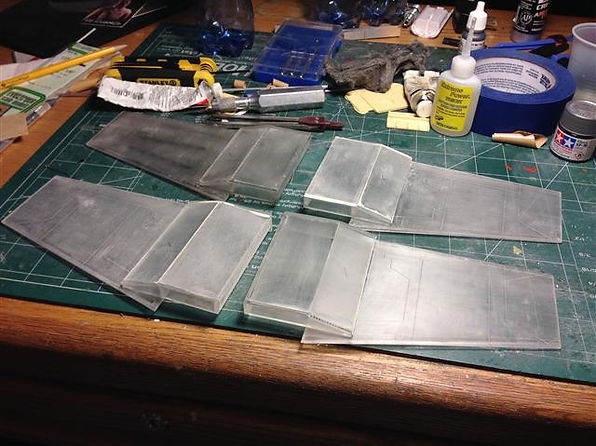
There were no underside wing pieces provided, so they need to be fabricated from scratch. The plexiglass had more give than I was comfortable with, so I added some metal braces to the inside.
During the holidays I took over a corner of my In-Law's basement and turned it into a working vacation.

The nice thing about getting the primer coat on is realizing that some of the areas you've been fretting over aren't so bad after all. The bad part about the primer coat is realizing you have a problem or two that you hadn't seen before

Added detail to the underside engine area.The "softness" of the detail in the middle panel is liquid latex that was brushed on to mask that area during painting, it'll peel right off when ready.

I also added fan blades to the intakes, the original studio models didn't have them. They'd probably be frowned upon by a replica purest, but I believe they're needed for a display model.

Who's gonna fly them kid, you?


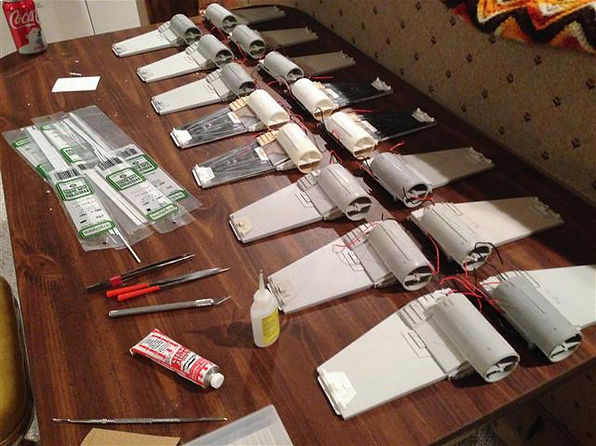
In the past I've noticed that electrical components that are going to die an early death will usually fail within the first few hours. After previously cracking open the hulls of two different near complete models to replace a defective LED and/or resistor, I've learned to let the lights burn for a straight 24 hours before sealing her up.

The poor pilot is going to need some serious butt reduction in order to coexist with the steel armature.


Getting the nose pieces to fit properly was quite a chore. I've got the contours where I want them and the seams are pretty much under control, a quick shot of primer tells me where I need a little more work.

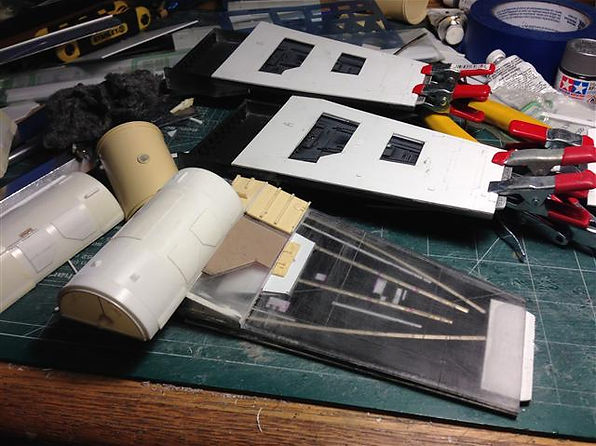
The client has asked for a custom rear bulkhead on one of the ships. I tried to maintain the general look of the original bulkheads but imply an earlier version of the ship, sort of like the differences between a first generation F-16 and the most current model

Once I get a primer coat on her, the parts should mesh together. (In theory)

The primary painting is done, now it's time to get down to some weathering. First will be the pastels with will tone down the contrast between the differnet colored panels followed by the airbrush to add battle scars and soot.


Finally Done!
Click any picture to open high-res version

Two of these ships have an internal armature that allow the wings to open and close. Additionally this armature gives you a rear mounting option just like the studio models had. While filming, ILM used C-Stands with a Matthew's grip head to hold and position the models. Modern Matthew grip heads have been redesigned, but I was able to find a knock off brand that more closely resembled the grip heads of the 1970's.

The Attack Force: (Note: The Laser Cannons have not been glued in anticipation of shipping, please excuse any sagging or crooked cannons)

Completed in October, 2014
Each of the four have their own gallery of finished pics:


